Hacking the Dexcom 7 Plus Transmitter | Battery replacement
- Category: Hacking Diabetes
- Hits: 20568

Back in the UK and having a slightly settled life now is a good time to review my daily basal rate, especially considering my diet has improved and I have cut right back on carbs.
I'm suspecting that my insulin sensitivity has increased...
This is only the second sensor I have used from my questionably sourced second-hand Dexcom sensor from ebay, you can read about my first use here: I am the Diabetic Tamagotchi, playing with the Dexcom 7+
So not only am I sticking in my stomach a device from ebay, it is also now 18 months past its use by date. Also, I discovered my transmitter is dead - great!

Now the transmitter is a simple looking device, it takes the reading from the sensor inserted in you and broadcasts them to your Dexcom receiver, an interesting article shows the insides of the device with the two small batteries clearly visible. These little batteries are suppose to last 6-12 months so I was luckily yo get any use from the second-hand transmitter, can we replace these two little batteries? No, its a sealed device costing around $600 to replace.
You what!?
This is one of the reasons the cost of access to a CGM is so high, what to do?
Let the hacking begin
There are a few articles in the wild of people hacking the device open and replacing the batteries themselves, with nothing to lose lets get cutting...
Items you will need...
- Sharpe cutting tool - currently I'm renting a small flat so all my tools are locked up at home. I used by very sharp and trusty penknife. I think a hacksaw would be more ideal with the sensor held in a clamp. I would avoid any power tools
- 2 * Renata Watch Battery 370 1.55Volt
- Sugru or MultiMorph to reseal the transmitter
- Dexcom has done a fantastic job at eradicating the Dexcom 7+ manual from the Internet, directing you too the G4 device. You can access the manual here
- The G4 desktop app will read from the 7+
Cutting open
The best article I have found is from Joern here, while in German the first image showing the battery location and details of the batteries where very helpful.
I found cutting from the side the easiest to take the top off the sensor, surprisingly using the saw on the pen knife was the most effective.


Battery replacement
With the plastic cut away you need to separate the top piece of metal on the battery, will take some force. Be careful not to bend this too much, the first one snapped off, luckily there was enough left to touch the side of the battery. Dig to the side of the batteries and jab away until they pop out.
Testing
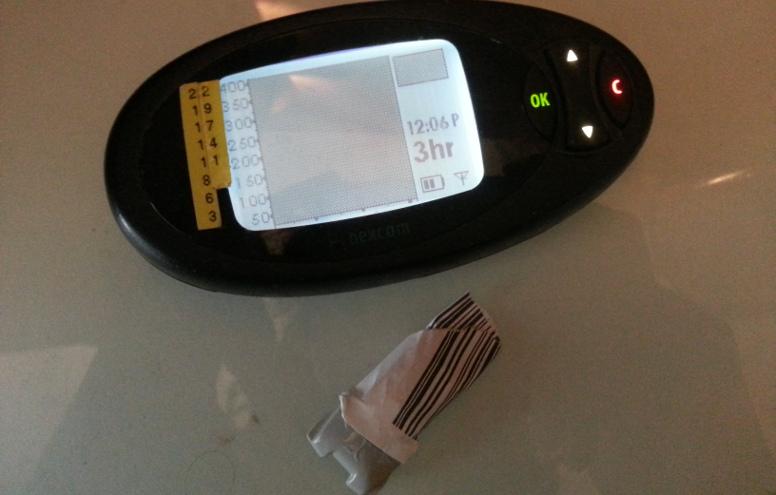
With the new batteries inserted and temporary held in place I left the hacked transmitter and receiver next to each other for about 15mins. If you see the antenna icon in the bottom right corner, you are in business!
Sealing
Now to seal the transmitter I used MultiMorph, this is much cheaper than Sugru and reusable. But I would suggest Sugru as a more waterproof solution. Once dried clean up the edges to be in-line with the sides of the transmitter so that it will fit into the sensor fine.
The sensor has now been in use for a few days and appears to be working very well. The glue on the sensor was not too great, use some Opsite Flexifix Transparent Film to help and keep it attached to hopefully get > 1 week use.
![]()

I'm now looking into the possibility of hacking a G4 transmitter to work with DexDrip, how far can we push down the entry cost of using a CGM? Lets find out...
Like this? Email me future posts!
Disclaimer
The contents of this site is for informational purposes only and is not intended to be a substitute for professional medical advice, diagnosis, or treatment. Always seek the advice of your Diabetes support team or other qualified health provider with any questions you may have regarding your medical condition.Sorry, have to say something like this!